A custom build is the best way to give a reptile, amphibian, or arachnid a habitat that is the right shape, the right size, and genuinely beautiful — instead of forcing the animal into whatever the shop had in stock. But the freedom cuts both ways: every decision you make has to serve the animal’s needs, not your aesthetics or your budget. Get the planning right and the rest is carpentry.
Plan around the animal first
Before you cut anything, before you buy a single sheet of material, research the species you are building for. The enclosure exists to serve a living animal, so its biology sets the dimensions:
- Adult footprint and height. Build for the adult, not the hatchling. An arboreal climber (a crested gecko, a tree frog, an arboreal tarantula) needs height and vertical structure; a terrestrial species needs floor space.
- Temperature and humidity gradients. The animal thermoregulates by moving between zones, so you need room to create a warm end and a cool end, a damp area and a drier one. A box that is uniformly one temperature is a failed build. See our bearded dragon care guide for what a real gradient looks like.
Sketch the whole thing on paper: exact internal dimensions, where the doors open, where vents sit, and how cables for lighting and probes will route in and out without leaving an escape gap.
Materials and tools
Choose the body material around how wet the enclosure needs to be:
- PVC sheet or panel — light, fully waterproof, and the best default for humid species. It won’t rot, warp, or absorb water.
- Marine-grade plywood or sealed melamine — strong and moisture-resistant, good for drier setups and large builds where rigidity matters.
- Clear glass or acrylic for the viewing panels and doors.
- Fine aluminium or stainless mesh for ventilation — fine enough to keep feeder insects in and pests out.
- Stainless steel screws and hinges, which won’t rust in a damp environment.
Tools: a circular saw or track saw for clean, straight cuts, a drill/driver, a tape measure, and a square. Wear your safety gear — goggles, gloves, and a dust mask, especially when cutting PVC or sealed boards.
Build the frame and box
Accuracy here defines whether everything else fits:
- Measure twice, cut once. Transfer your sketch dimensions to the material and double-check before every cut.
- Square and level every joint. Out-of-square panels leave gaps, and gaps mean escapes and heat loss.
- Reinforce the corners. Corner blocks or brackets keep a large box from racking over time.
- Leave your openings. Cut out the spaces for doors, vents, and fixtures as you go rather than trying to retrofit them later.
Ventilation and doors
Ventilation is not just “add holes” — it shapes airflow and supports the gradient you planned:
- Place vents to create cross-flow: a low intake on one side and a higher exhaust on the other pulls fresh air across the enclosure and helps hold the temperature and humidity gradient steady.
- Fit fine mesh securely over every opening. A loose or torn screen is an open door.
- Install sliding glass or hinged doors with sturdy locks. This matters more than keepers expect — snakes in particular are relentless escape artists, and a habitat is only as secure as its weakest latch.
Sealing for high-humidity species
If you are building for amphibians or a tropical, high-humidity species, the enclosure has to hold water without rotting or leaking. (For why humidity is so unforgiving with amphibians, see understanding humidity for amphibians.)
- Build from waterproof materials like PVC, or properly seal wood-based panels.
- Seal every joint with aquarium-safe 100% silicone sealant. Not all silicones are safe — avoid anything with mould-inhibitors or “antimicrobial” additives, which can leach and harm the animal.
- For a wet base, consider a pond liner or an epoxy-coated floor to create a fully watertight basin.
- Add a moisture-retaining substrate and live plants. A planted, bioactive base buffers humidity far more stably than misting an empty box.
Lighting and heating
Mount your fixtures to reinforce the gradient, never to cook the whole enclosure:
- Position UVB and basking fixtures over one end so the animal can choose to bask or retreat. Replace UVB tubes on schedule — output fades long before the bulb stops glowing.
- Run every heat source on a thermostat. An unregulated heat lamp or mat is the most common cause of fatal overheating and burns.
- Guard or mount heat sources so the animal cannot press directly against them.
- Keep all electrical components away from water, and route cables so there are no exposed live parts inside the enclosure.
Substrate and decor
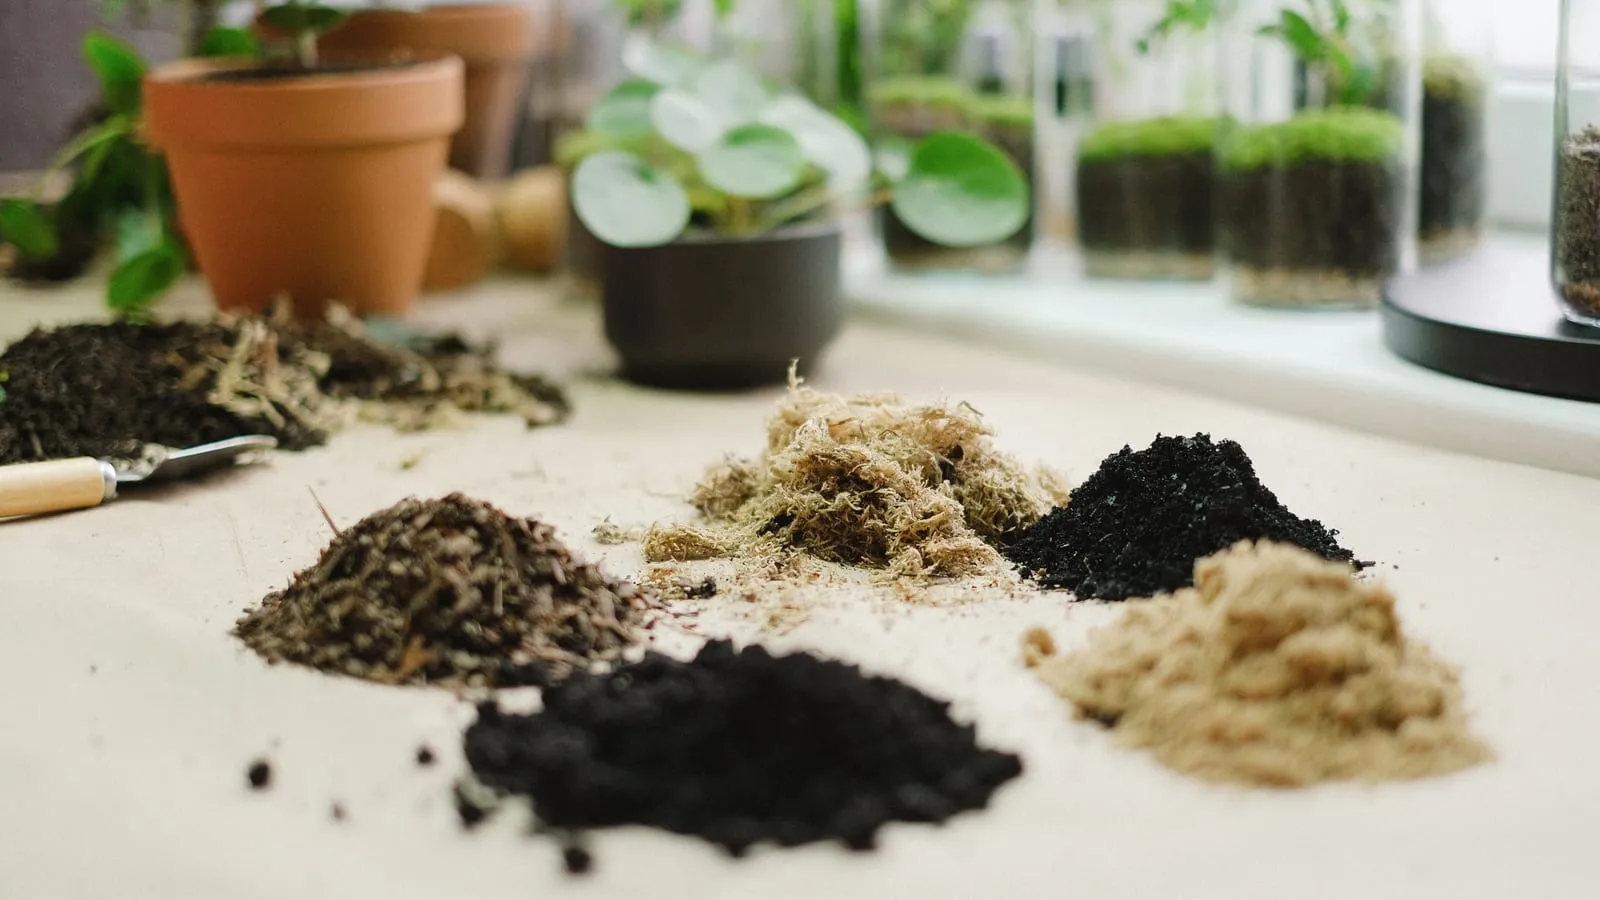
Match the substrate to the species — a bioactive soil mix for a humid bioactive build, a non-loose surface where impaction is a risk, sand for a true desert dweller. Then furnish for security and enrichment:
- Hides at both the warm and cool ends, so the animal never has to choose between feeling safe and being the right temperature.
- Branches, cork, and live or artificial plants for cover, climbing, and sight breaks.
A well-furnished enclosure isn’t decoration — visual cover and climbing structure are what let a shy animal settle and behave naturally.
Safety check and curing
Before the animal ever goes in, walk the enclosure like an inspector:
- Check for escape gaps at seams, vents, cable holes, and door tracks. If a pencil fits, so might the animal.
- Confirm the lid and doors lock and hold.
- Run the lighting and heating for a few days and verify the gradient holds across the planned range.
Let all paint, sealant, and adhesives fully cure and off-gas before the animal moves in — often a week or more. Solvent fumes that you can no longer smell can still be deadly in a sealed enclosure, especially for amphibians breathing through their skin.
Once the build is done, dialed in, and cured, the work shifts from carpentry to husbandry. That’s where LizardBox comes in: log the new enclosure’s readings over its first few weeks — basking, ambient, cool-side and water temperatures each have their own log type, so a gradient becomes a set of numbers you can compare rather than an impression you trust. Add a reminder for the next UVB bulb swap and a one-time build turns into a habitat you can actually maintain.