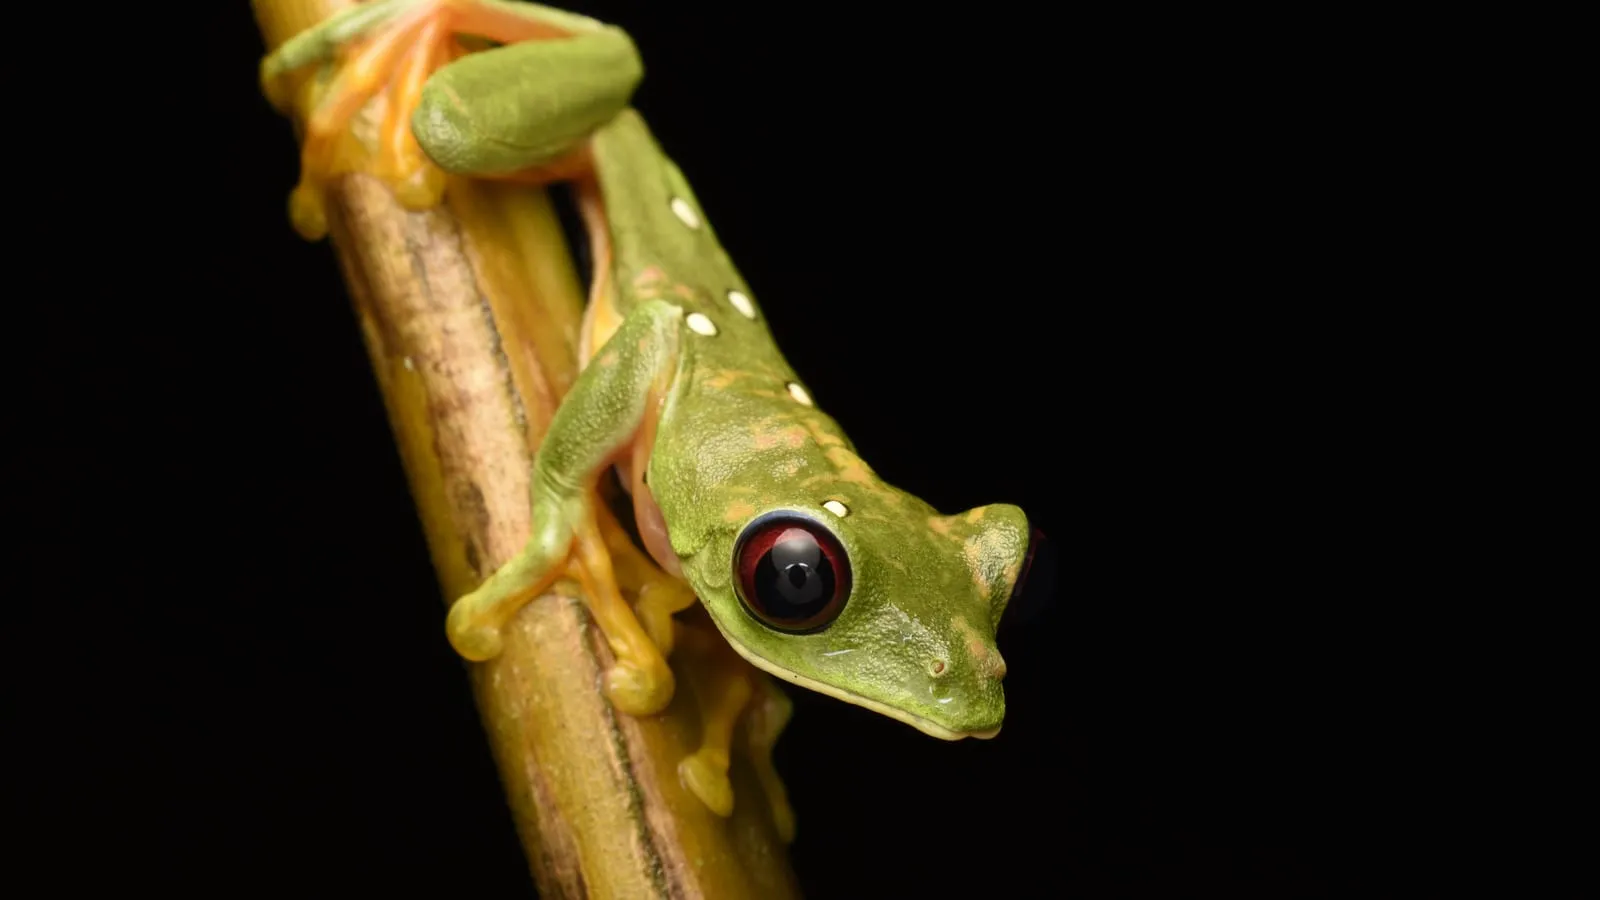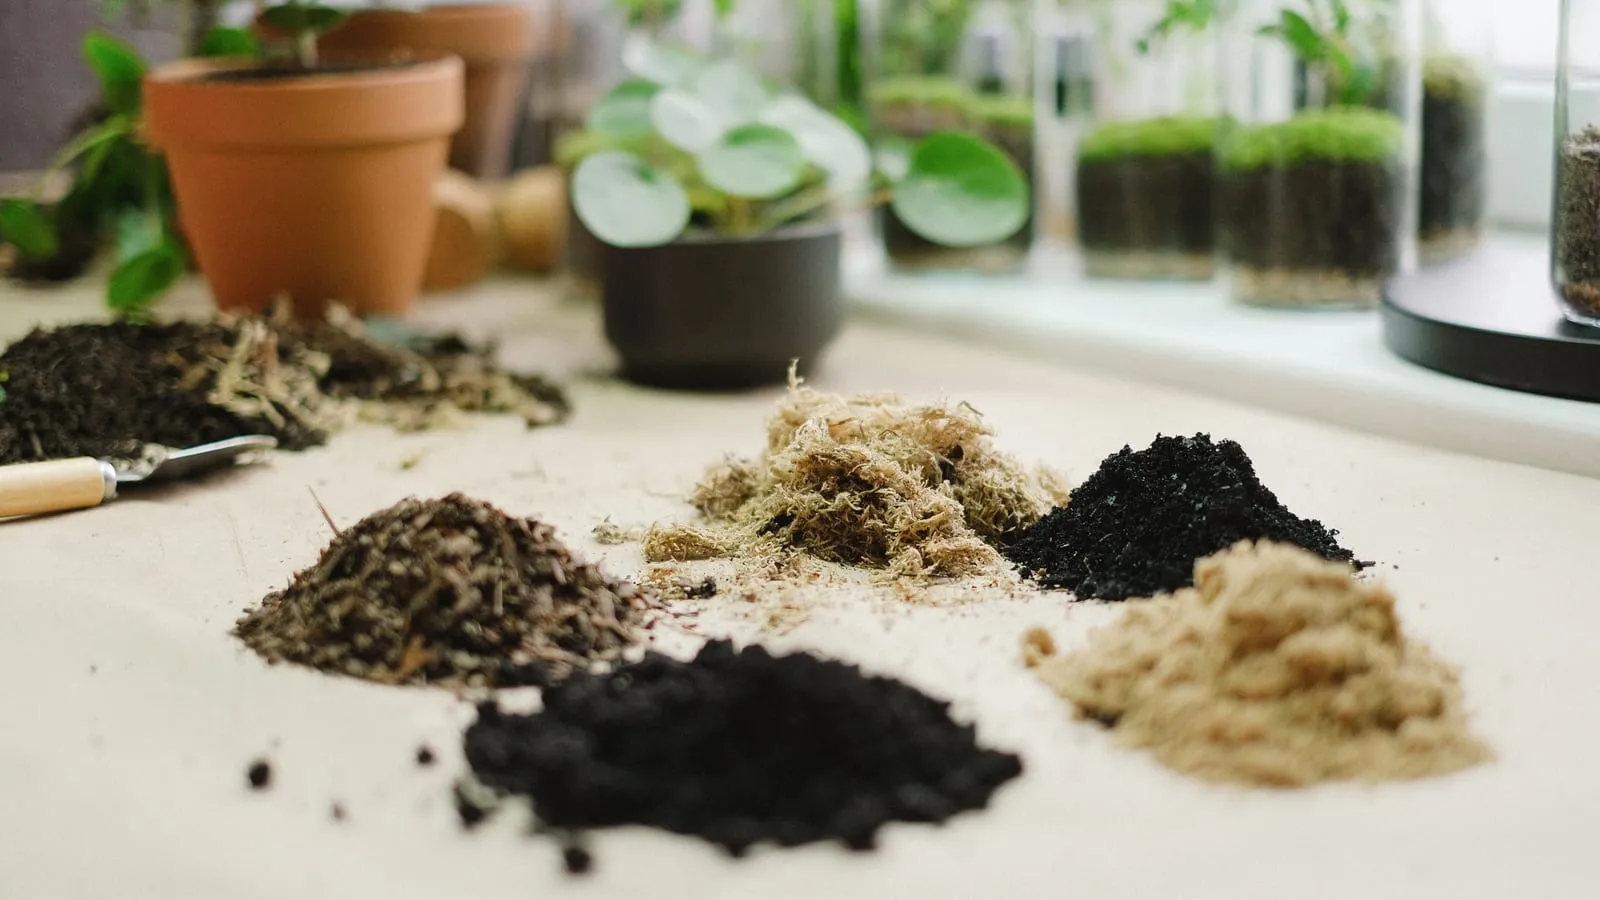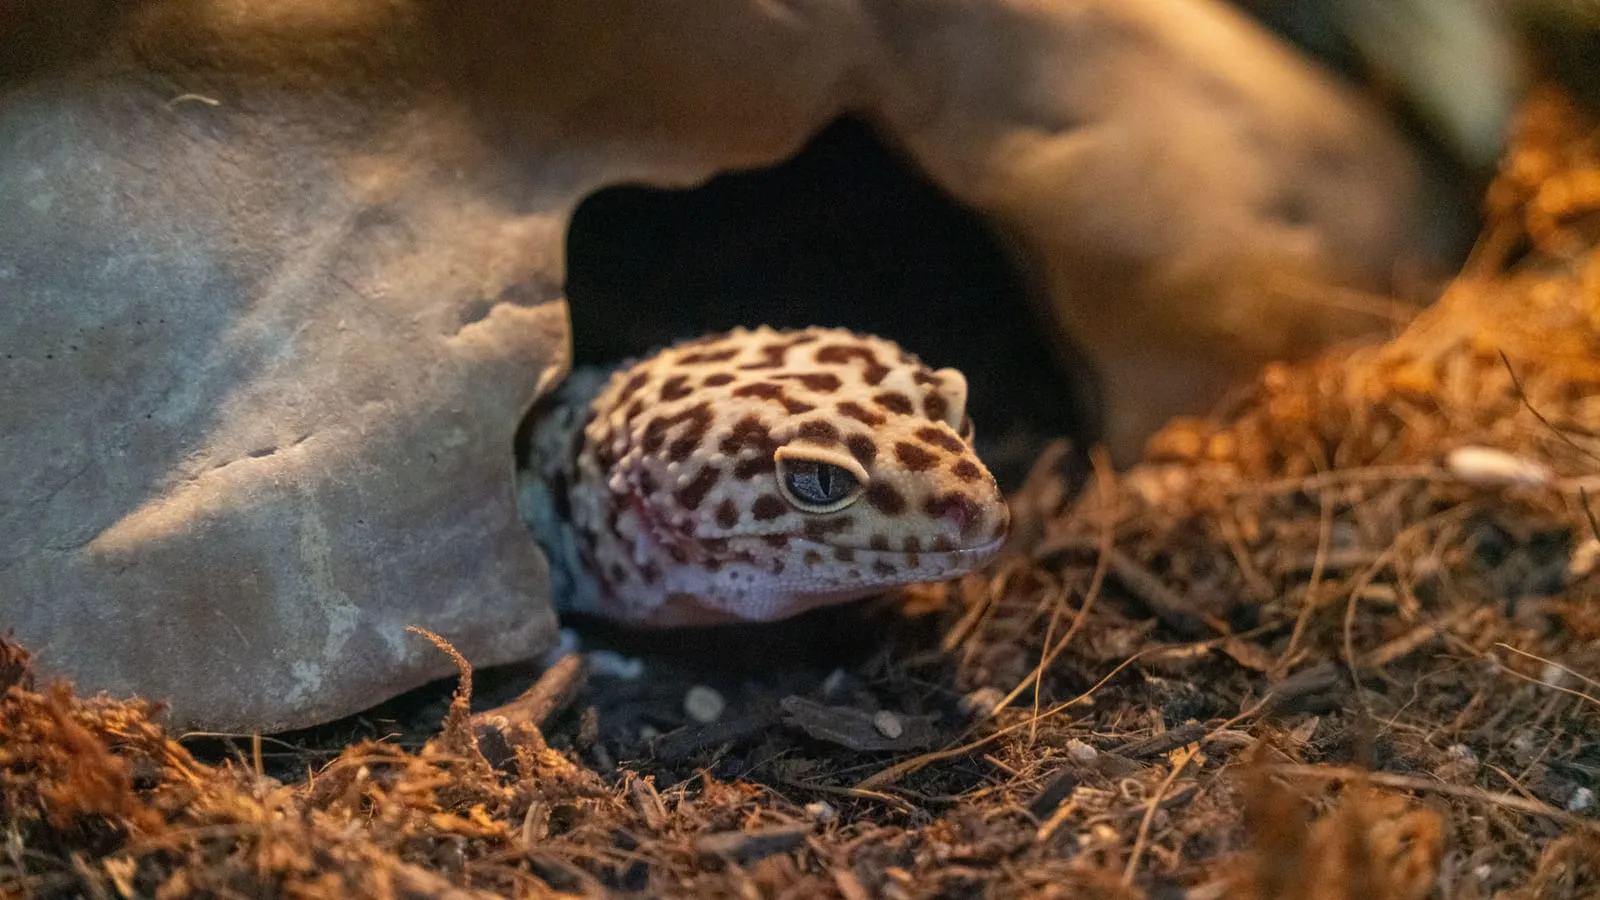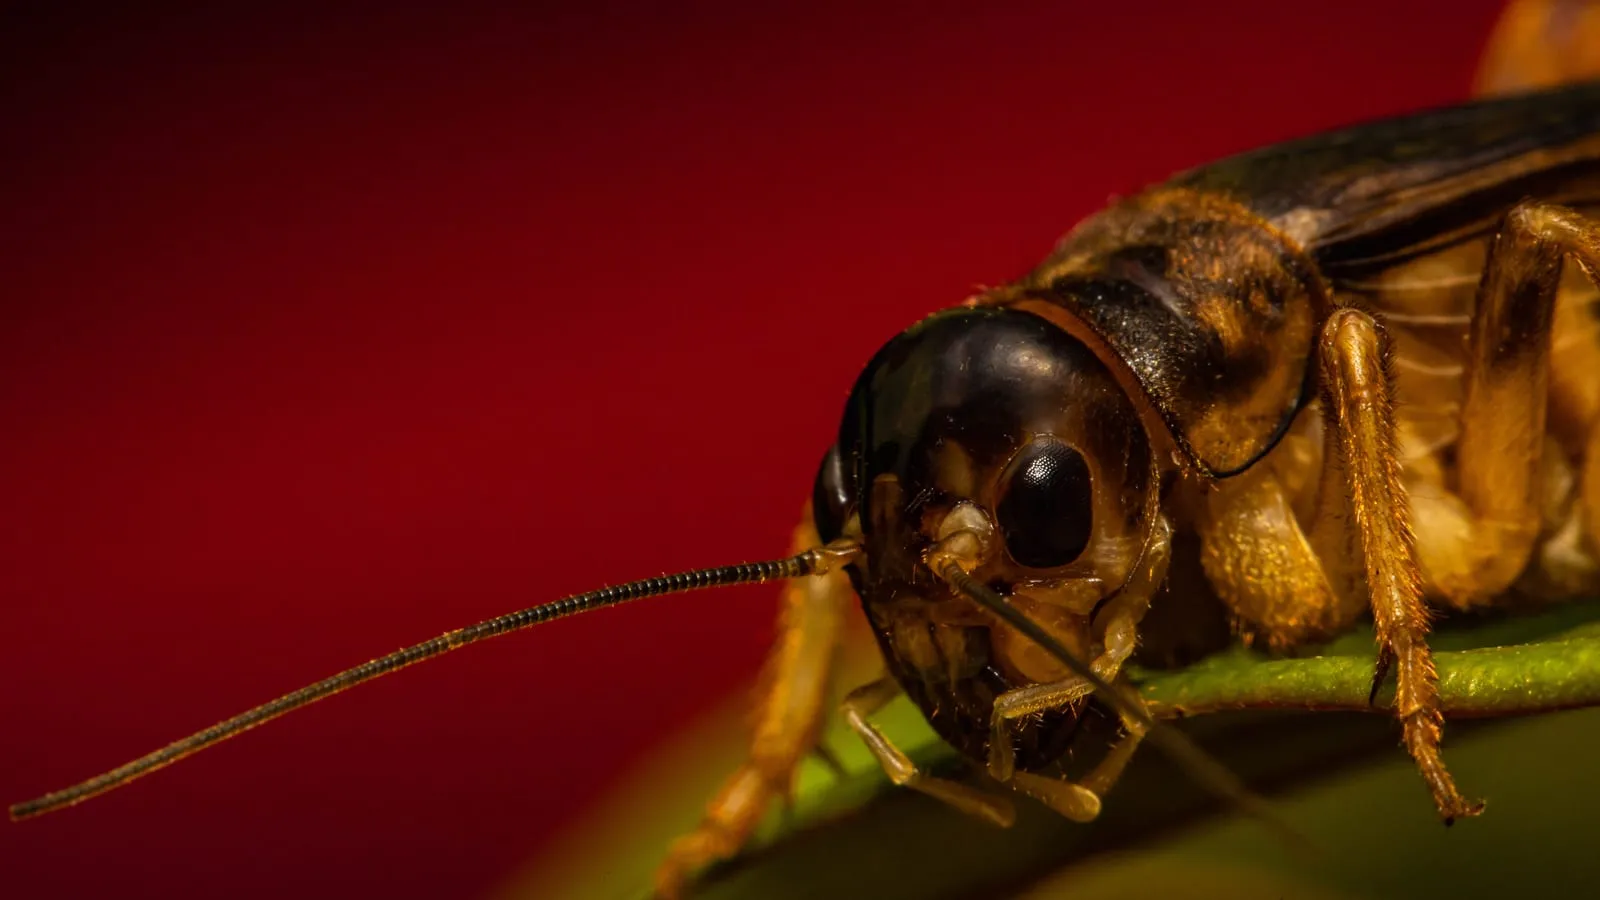
Buying feeders every week is expensive, unreliable, and leaves you trusting a shop with the single biggest input into your critter’s health. Breed your own and that changes overnight: a colony pays for itself, never sells out the week you need it, and — most importantly — lets you control exactly what goes into the insects, and therefore what goes into your animal. A feeder is just a delivery vehicle for nutrition. Owning that supply chain is one of the quietest upgrades a serious keeper can make.
Why breed instead of buy
Three reasons, in order of how much they matter:
- Cost. Store feeders are marked up hard. A breeding colony has an upfront cost and then runs on kitchen scraps and a bag of grain.
- Reliability. No more “out of stock,” no shipping delays, no arriving to a bag of dead crickets. You harvest what you need, when you need it.
- Control. This is the real prize. A feeder is only as nutritious as what’s inside it, and a colony you gut-load yourself delivers far better nutrition than insects starved in a shop bin for a week.
Choosing what to breed
Not every feeder is worth colonising. The honest trade-offs:
- Dubia roaches (Blaptica dubia) — the premium choice. Quiet, odourless, can’t climb smooth surfaces and can’t fly, so escapees aren’t a crisis. They’re long-lived, have a high meat-to-shell ratio, and gut-load beautifully. The only real drawback is patience: they take roughly 4–6 months to mature, so a colony has to be started well before you depend on it.
- Crickets — cheap and fast to produce, but loud, smelly, short-lived, and relentless escape artists. A working cricket setup is more labour and more mess than most keepers expect.
- Mealworms and superworms — easy and low-effort, but higher in chitin and fat. Reach for superworms (Zophobas morio) when you’re feeding larger animals that need a bigger, meatier item.
- Black soldier fly larvae (BSFL) — naturally high in calcium, which makes them a genuinely useful part of a varied diet rather than a sole staple.
For most keepers, dubia are the colony to build, with one or two others on rotation for variety. A varied feeder diet beats any single “perfect” insect.
Check your local law before you order dubia. In Florida they are a regulated arthropod under FDACS rule chapter 5B-57 — the climate would let escapees establish outdoors — and the permit is not issued to hobbyists, so reputable suppliers will not ship there. Florida keepers use discoid roaches (Blaberus discoidalis) instead: near-identical to keep and feed out, and legal. Dubia are also restricted in parts of Canada and a few other jurisdictions. One search now saves a confiscated colony later.
Setting up a dubia colony
Dubia are forgiving, but they have non-negotiables: heat, darkness, and surface area.
- The bin: a large, opaque plastic storage tub. Cut generous ventilation panels into the lid and upper sides and cover them with fine mesh for cross-ventilation. Opaque matters — dubia want to be in the dark.
- Surface area: stack vertical egg-crate or cardboard flats inside. Roaches live on the surfaces, so flats are what determine how many animals the bin actually holds.
- Heat: this is the part people get wrong. Dubia need 85–95°F (29–35°C) to breed actively. Below that they simply stall. A heat mat or heat cable on a thermostat against one side of the bin works well; never rely on room temperature.
- Stocking ratio: aim for roughly 1 male to 3–5 females. Too many males waste food and harass the colony without adding to production.
Keep it warm, dark, and slightly humid, and an established colony becomes nearly self-running.
Feeding and gut-loading the colony
What you feed the colony is what your critter eventually eats, so this is husbandry, not an afterthought.
- A dry base: a constant supply of a grain like oats or wheat bran as the colony’s staple.
- Fresh produce: leafy greens and vegetables — carrot, squash, leafy greens, bits of fruit — for moisture and richer nutrition.
- Water, safely: dubia drown in open dishes. Provide moisture through water crystals (polymer gel) or moisture-rich vegetables instead. Never set out a bowl of standing water.
Remove uneaten produce before it rots. Decaying food is how a clean colony turns into a mould-and-mite problem overnight — the fastest way to lose months of work.
Harvesting and gut-loading before feeding out
The colony itself isn’t the goal; the animal is. Two steps separate a mediocre feeder from an excellent one:
- Gut-load before offering. Load the feeders you plan to use with nutritious food — fresh greens, vegetables, a quality commercial gut-load — for 24–48 hours before they go to your critter. This is the meal you’re really delivering.
- Dust at feeding time. Coat the feeders in a calcium supplement right before offering them. Gut-loading and dusting do different jobs, and insectivores and omnivores like the bearded dragon depend on both to get the calcium their bones need.
Skip these and even a homegrown feeder is just empty calories with a shell.
Keeping it clean and letting it establish
A new colony needs patience. Let it build for a few months before harvesting heavily — pull too many adults too soon and you’ll set production back instead of getting ahead. Keep the bin clean, clear out shed skins and dead insects, manage humidity to keep mites and mould down, and resist the urge to crowd it. A clean, mature colony quietly outproduces a neglected one many times over.
Self-sufficiency is really about consistency, and consistency is easy to lose track of: when you last cleaned the bin, how the gut-loading rotation is going, which critters are due to be fed. LizardBox lets you log feedings — including which supplements went on them — and set the reminders that keep both your colony and your animals on a steady rhythm, so the system you built keeps running without living in your head.